Choosing the Right Phone Repair Shop in Perth: 7 Things to Look For
Your smartphone is one of the most important devices you own. Whether you use it for work, communication, banking, or...
Learn More
Dropping your phone into water can be stressful. Whether it falls into a sink, swimming pool, toilet, washing machine, or gets soaked in heavy rain, your first few actions can make a big difference. If you’re searching for water damaged phone repair Perth, you’re likely looking for urgent advice and a reliable repair service.
The good news is that a water damaged phone can often be saved if you act quickly. The bad news is that common mistakes like turning it on, charging it, or putting it in rice can make the damage much worse.
This guide explains exactly what to do in the first few minutes after water exposure, why professional repair is important, and how the technicians at FoneDoc Perth help restore water damaged phones with professional cleaning and testing. If you’re searching for water damaged phone repair Perth, acting quickly can greatly improve the chances of saving your device.
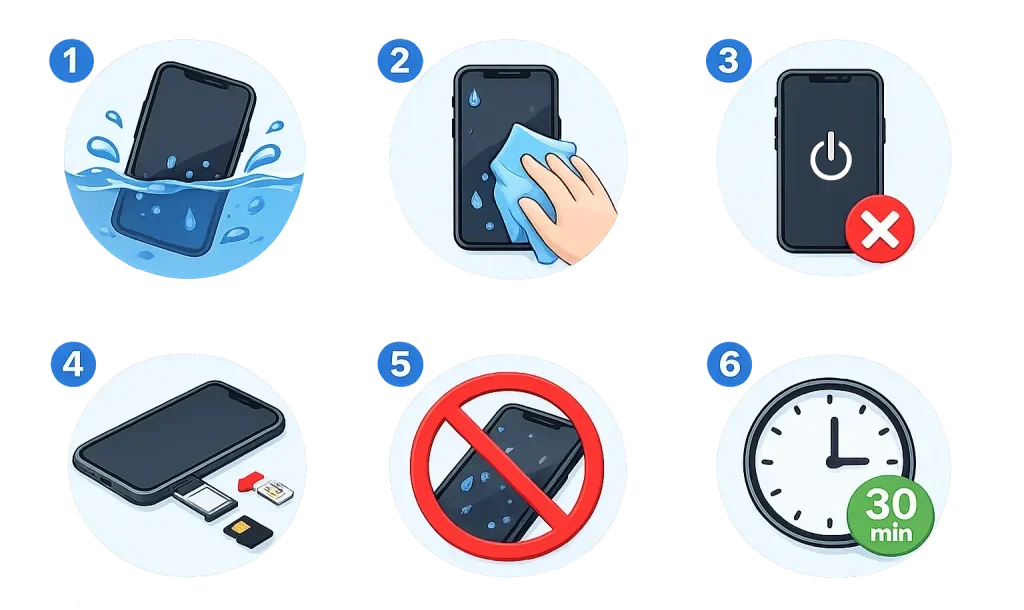
The first five minutes after your phone gets wet are the most important. The actions you take during this time can make a big difference in preventing further damage and improving the chances of saving your phone. Follow these steps carefully and act quickly to reduce the risk of water reaching important internal parts.
The longer your phone stays underwater, the more water can enter through speakers, charging ports, microphones, and other openings. Every second counts, because the damage can get worse the longer it stays in water.
As soon as you retrieve it:
Trying to power on a wet phone is one of the biggest mistakes people make because it can create electrical short circuits.
If your phone is still on, turn it off immediately. Leaving a wet phone on can increase the damage caused by water and raise the risk of harm to the internal parts.
If the screen does not respond:
Turning the phone off reduces the risk of permanent damage to the logic board while moisture is still inside.
Remove anything connected to or attached to your phone. These items can hold water inside the phone and slow down the drying process. This includes:
With these items removed, you can check the phone more easily and prevent accessories from causing extra problems while it dries.
Even after removing the SIM card and accessories, some water may still be inside the phone. Carefully remove any extra water that may be trapped around the openings before moving on to the drying process.
Many people still believe placing a phone in rice will fix water damage. Unfortunately, this is just a myth. Rice may absorb a small amount of water from the surrounding air, but it cannot remove water trapped deep inside your phone.
More importantly, rice does nothing to remove:
These substances can slowly damage your phone, even when it still works fine. Rice can also leave dust and small particles inside:
A better temporary option is placing the phone in front of a fan in a cool, well-ventilated room until you can take it to a professional.
Time is the biggest factor in successful water damaged phone repair. Water can start causing problem inside your phone within hours.
Professional technicians can:
The sooner your phone is checked, the better the chance of saving your device and data.
Important: Do not charge your phone after water damage. Avoid repeatedly turning it on. Do not use a hair dryer because heat can damage internal parts and phone seals.
The rice trick has been popular for years, but it is not a real repair solution. Rice only absorbs a small amount of water from the air. It cannot remove water trapped inside your phone. The bigger problem is what happens after the water dries. Water can leave behind:
These can slowly damage the phone’s internal components. Your phone may appear to work after drying, but corrosion can continue inside. Days or weeks later, you may experience:
Better options include:
Professional cleaning removes corrosion and residue that home methods cannot reach.
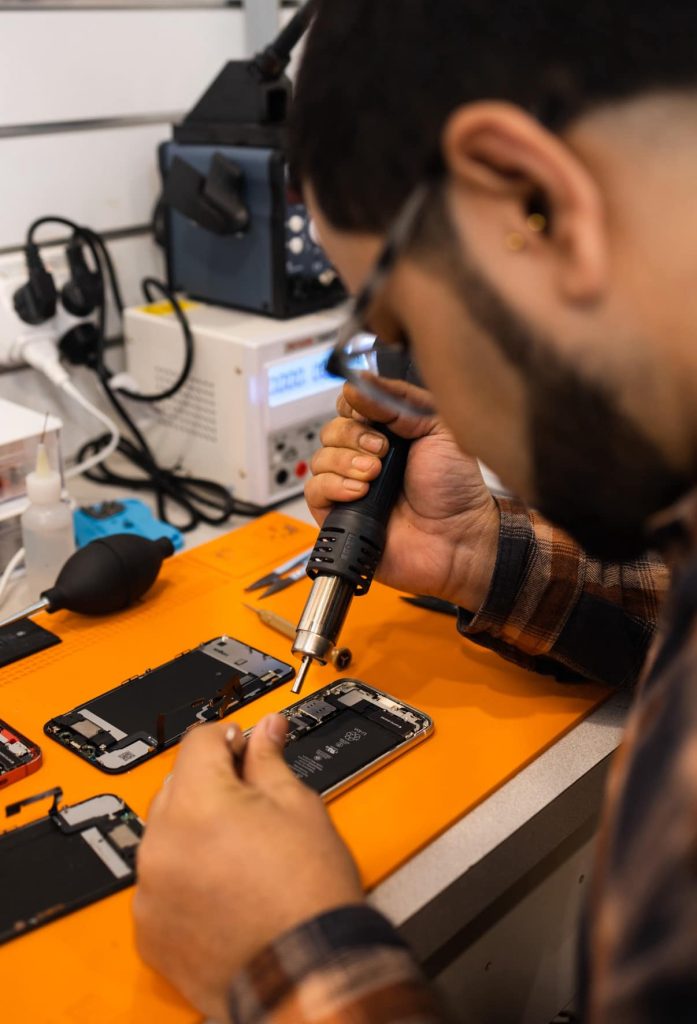
Water damage repair involves much more than simply drying your phone and hoping it works again. When water enters a phone, it can affect the internal components, create corrosion, and cause problems that may not appear immediately. Professional repair helps identify hidden damage, remove harmful residue, and test each part to improve the chances of recovery.
At FoneDoc Perth, the water damage repair process includes a detailed inspection, professional cleaning, component testing, and final quality checks.
The first step is a complete assessment of your phone. A technician carefully checks the device to understand the level of damage and determine the best repair approach. This includes:
This assessment helps technicians understand the condition of your phone before any repair work begins.
Your smartphone is one of the most important devices you own. Whether you use it for work, communication, banking, or...
Learn More